Tutorial: How To Do A Handstand The EVO Way
When learning to perform a handstand for the first time, taking the time to build a level of strength and stability, before adding balance, will go a long way to mastering a consistent handstand hold. So whether you’re after the challenge of a new bodyweight skill, want to build huge levels of upper body strength, or simply wish to have more kudos with your friends and family – follow our 4 simple steps below.
Step 1 – body tension
In a handstand, adequate body tension is essential for balance, and is required from the hands right through to the feet. Because the arms will naturally straighten in a handstand, it’s often the torso and legs that need tightening up. A simple way of building body tension is by assuming a push up position and progressively increasing the hold time. Start with 10s and build up to 60s. The key is to keep the torso, butt and leg muscles at a consistent level of tightness (whilst breathing freely). To increase the challenge, you can walk the arms out towards an overhead position, and build in the holds from here. However, don’t overdo the arm reach - it’s important to remember we are building the feeling of body tension – not fatigue.
Step 2 – building strength
The next objective is to build strength and stability through the upper body, as well as increasing confidence in being inverted. This is achieved by progressively elevating the legs using stairs or a wall. The outcome of this drill is to be able to hold the legs in a horizontal position (pike) with the hips over the shoulders. Build up to a 20s hold, whilst maintaining body tension.
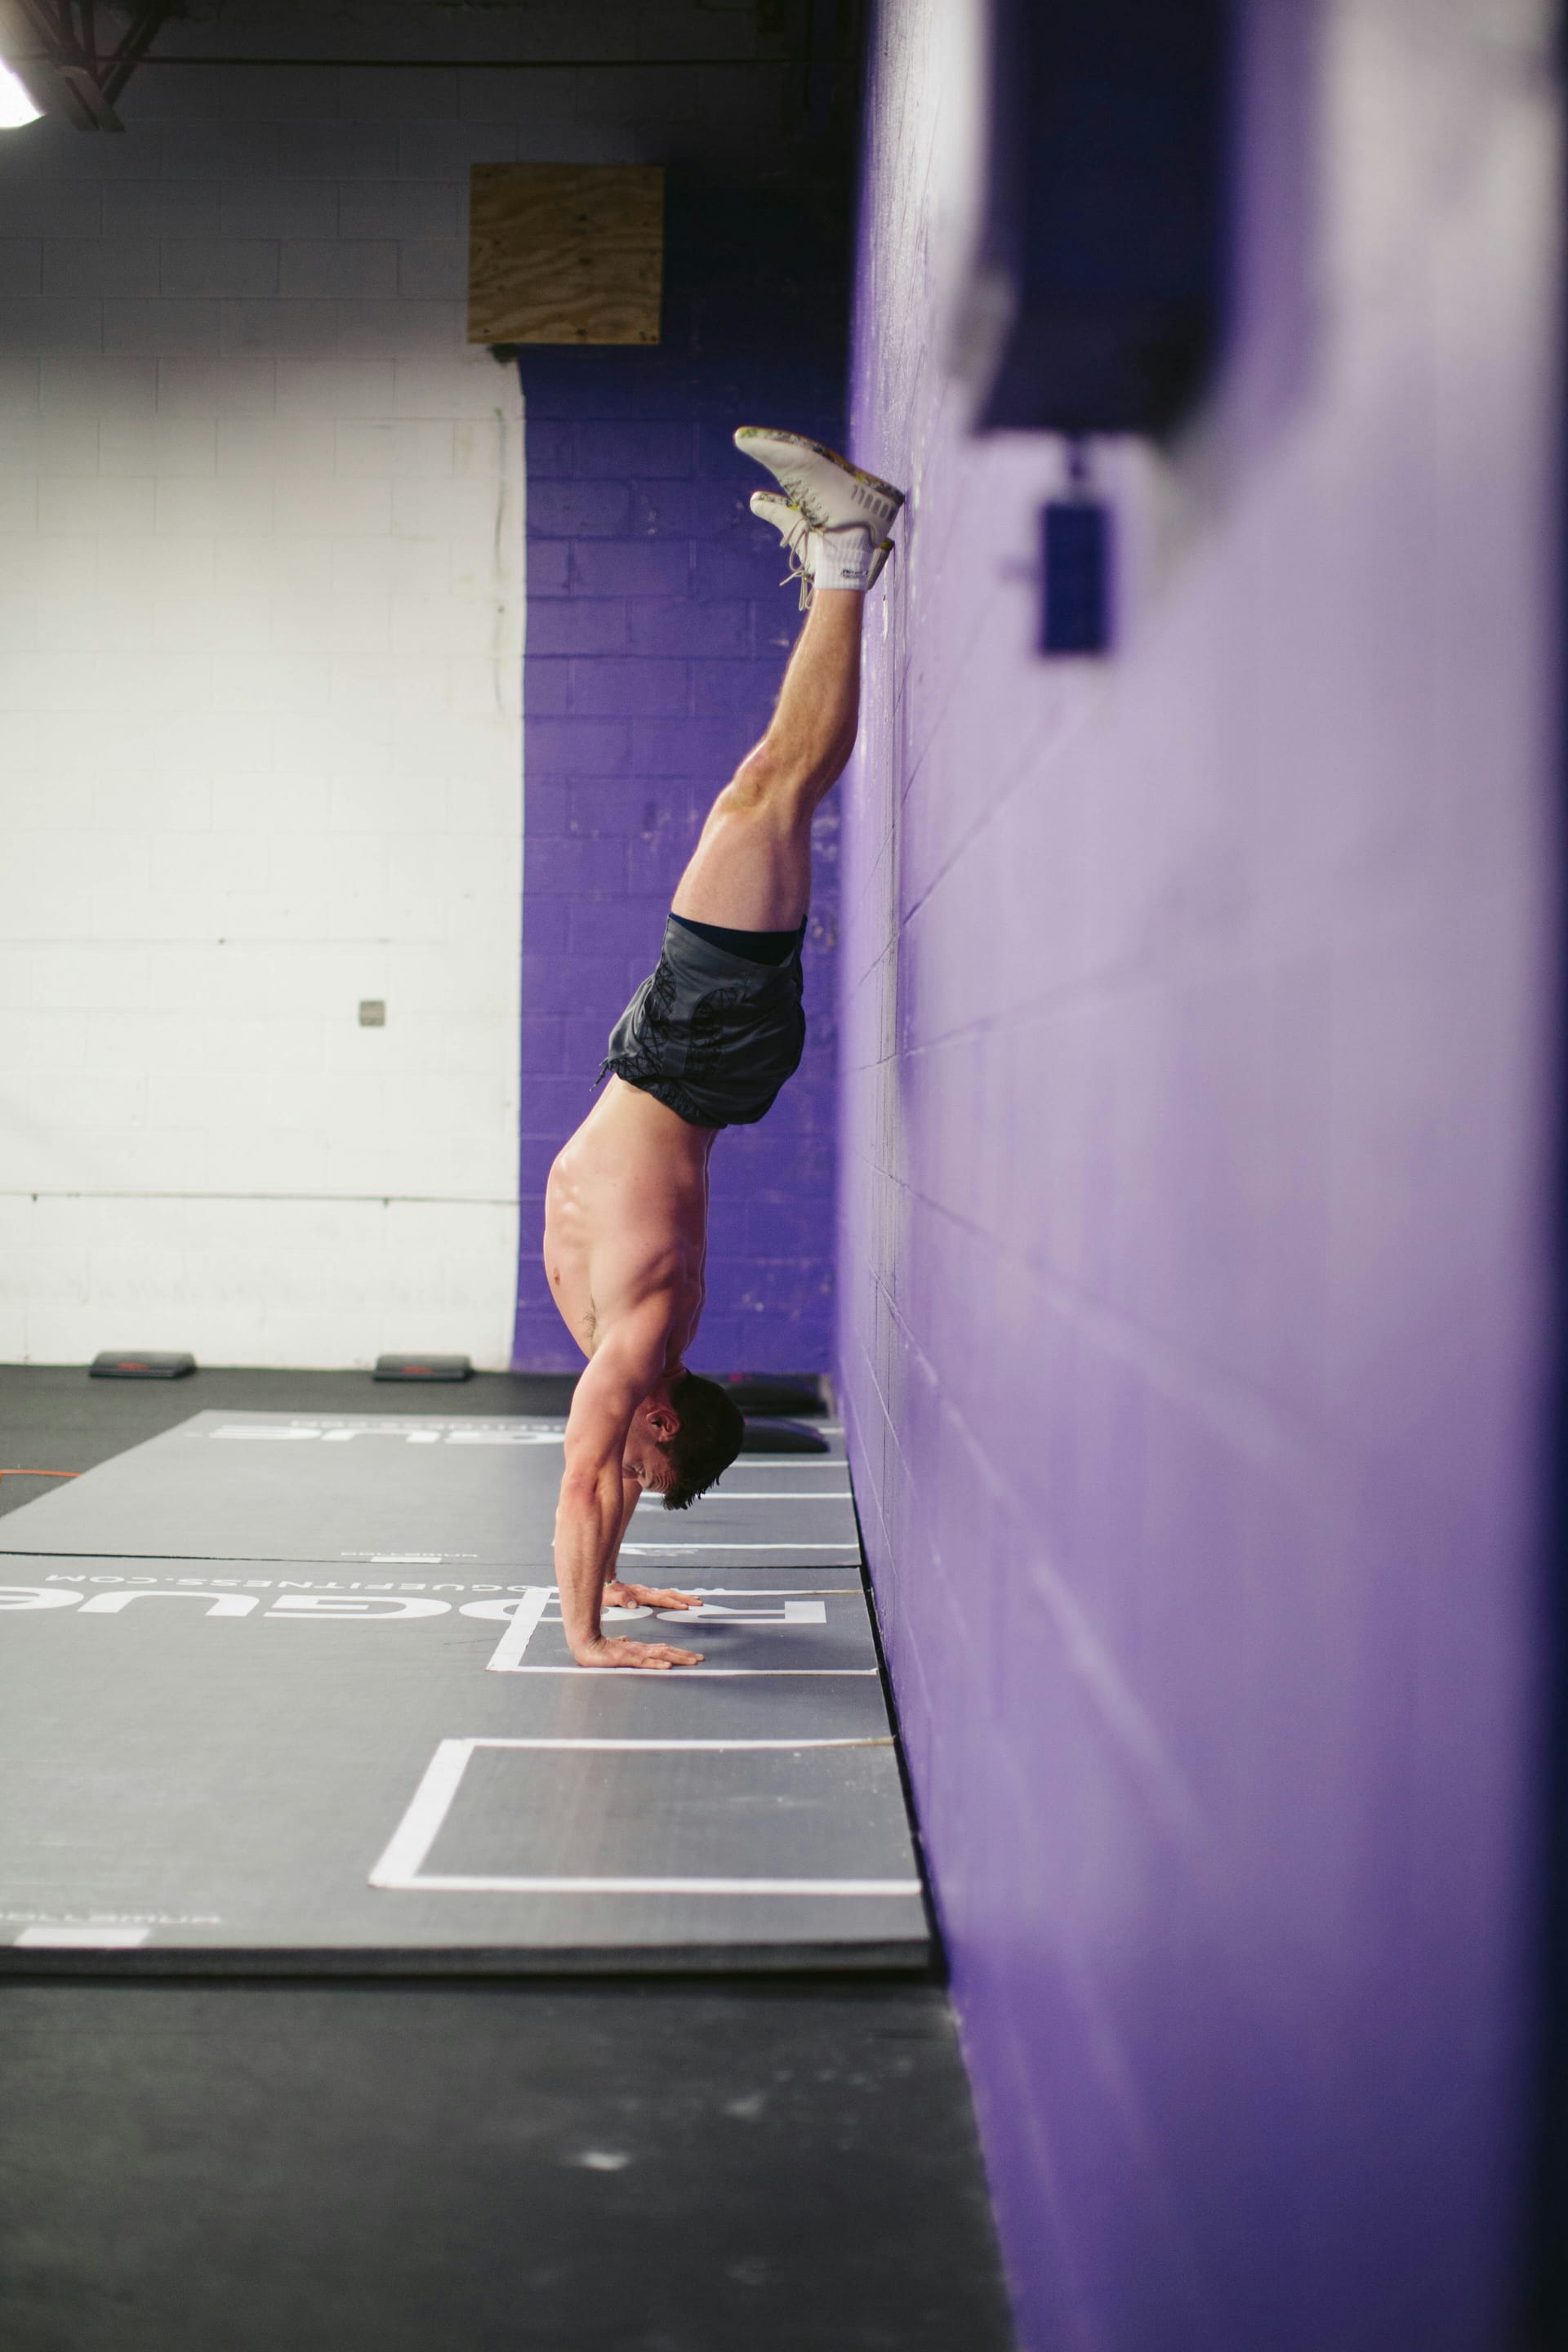
Step 3 – kick up to wall
Now’s the time to practice the kick up. Using a wall serves two purposes: it acts as a safety net; and it allows you to fine-tune the amount of kicking force. Face the wall, lunge forwards and plant your hands a few inches away from the wall. Gently kick up with the back leg, whilst keeping the other one down – this won’t take you to the full handstand position, but it will allow you to refine your kick. The aim is to kick hard enough to brush the wall with the kicking foot, but not slam into it. Practice this drill on both sides. When you feel confident, kick up one leg, quickly followed but he other, into the full handstand against the wall.
Step 4 – free standing handstand
Now that you know what it’s like to be upside down, and have the strength to hold this against the wall, it’s time to try the kick up to free standing handstand. This will initially require every ounce of balance you can find, and for this reason, it’s important to have a safe exit strategy if you lose balance. The simplest exit strategy is to side-step out, e.g. if you feel like you’re falling forwards, lift one hand and step out with the opposite leg. Find a suitable space and begin slowly kicking up with one leg (as before) – keep the other leg down for the moment so you can build confidence without over-kicking. The aim is to eventually be able to kick one leg up vertical for a few seconds with the other leg staying lower – this will get you used to balancing without falling. With practice, you’ll be able to kick up with just the right amount of force, bringing both legs into a full free standing handstand. Build up the holding time as your skill improves.
Handstand tips
Use the following tips to make your handstand more efficient:
- When planting the hands, spread the fingers with middle fingers pointing forward
- Push the hands into the floor as you kick up
- Keep the arms straight during all phases of the handstand
- Drive the hips over the shoulders during kick up – the quicker your hips are over your shoulders, the more balanced you’ll be
- Maintenance of body tension is the key to good balance and aesthetics; loss of tension often results in a banana-shaped handstand
- When practicing free standing handstands, use a partner to catch your legs as you kick up. They can then use small adjustments of your legs to fine tune your balance, while you focus on other aspects of the skill
- Allow time between handstand sessions for the wrists to recover